Let's Make a Gif: Taxidermy Edition
1. We're going to use these two delightful before-after photos *
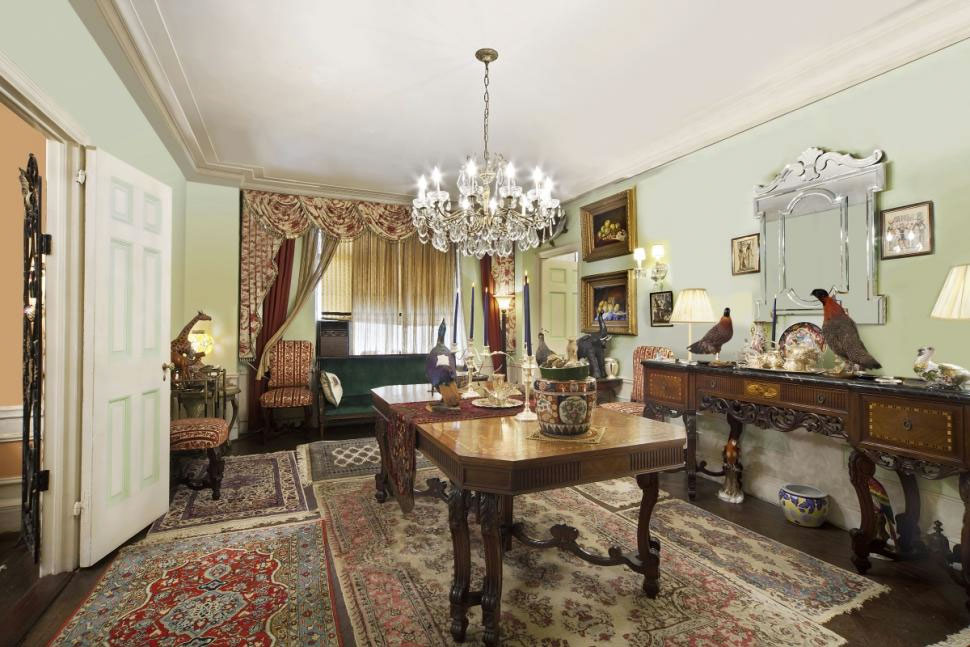

* Full back story, and a related something you should read on the trip home from NICAR.
2. Download Image 1 and Image 2.
3. Open up both photos in Photoshop and copy and paste them into the same file. You should end up with each photo on its own layer.

Then go to Window > Timeline.

4. You should now see a bottom bar with a tab called Timeline.

5. Click on "Create Frame Animation."

6. You should see a little box with a photo, we'll refer to that as a single "frame."

7. Go ahead and set the duration for .5 seconds.

8. And then set the looping to FOREVER (I mean, go big or go home).

9. Now we need to make a second frame with the other photo. Click on the new page button.

10. You should see a new frame appear.

11. Now we have a new frame, but they both look the same! So with the second frame selected, go over to your layers and click on the eye icon to toggle one layer off and reveal the second photo.

12. The animation frames reflect the current state of your layers, so we've just set the second frame to show the second photo. If you look closely you should see that the frame indeed looks different (it's full of taxidermy).

13. Go to File > Save for Web.

14. Save it as a gif!

15. Now, open up that gif in a browser. You should see a spectacular transformation of dead animals.

16. Now, contemplate all the much more useful combinations of photos you can now make into gifs.